
APPLICATIONS
Start with
what you’re making.
Composite and resin materials for DIY projects and high-performance work. Choose an application to see a typical build sequence and the ResinX materials listed for it.
Build sequences are a general orientation, not a specification. Check each product’s technical data sheet, and confirm your materials with the ResinX team.
01 / 08
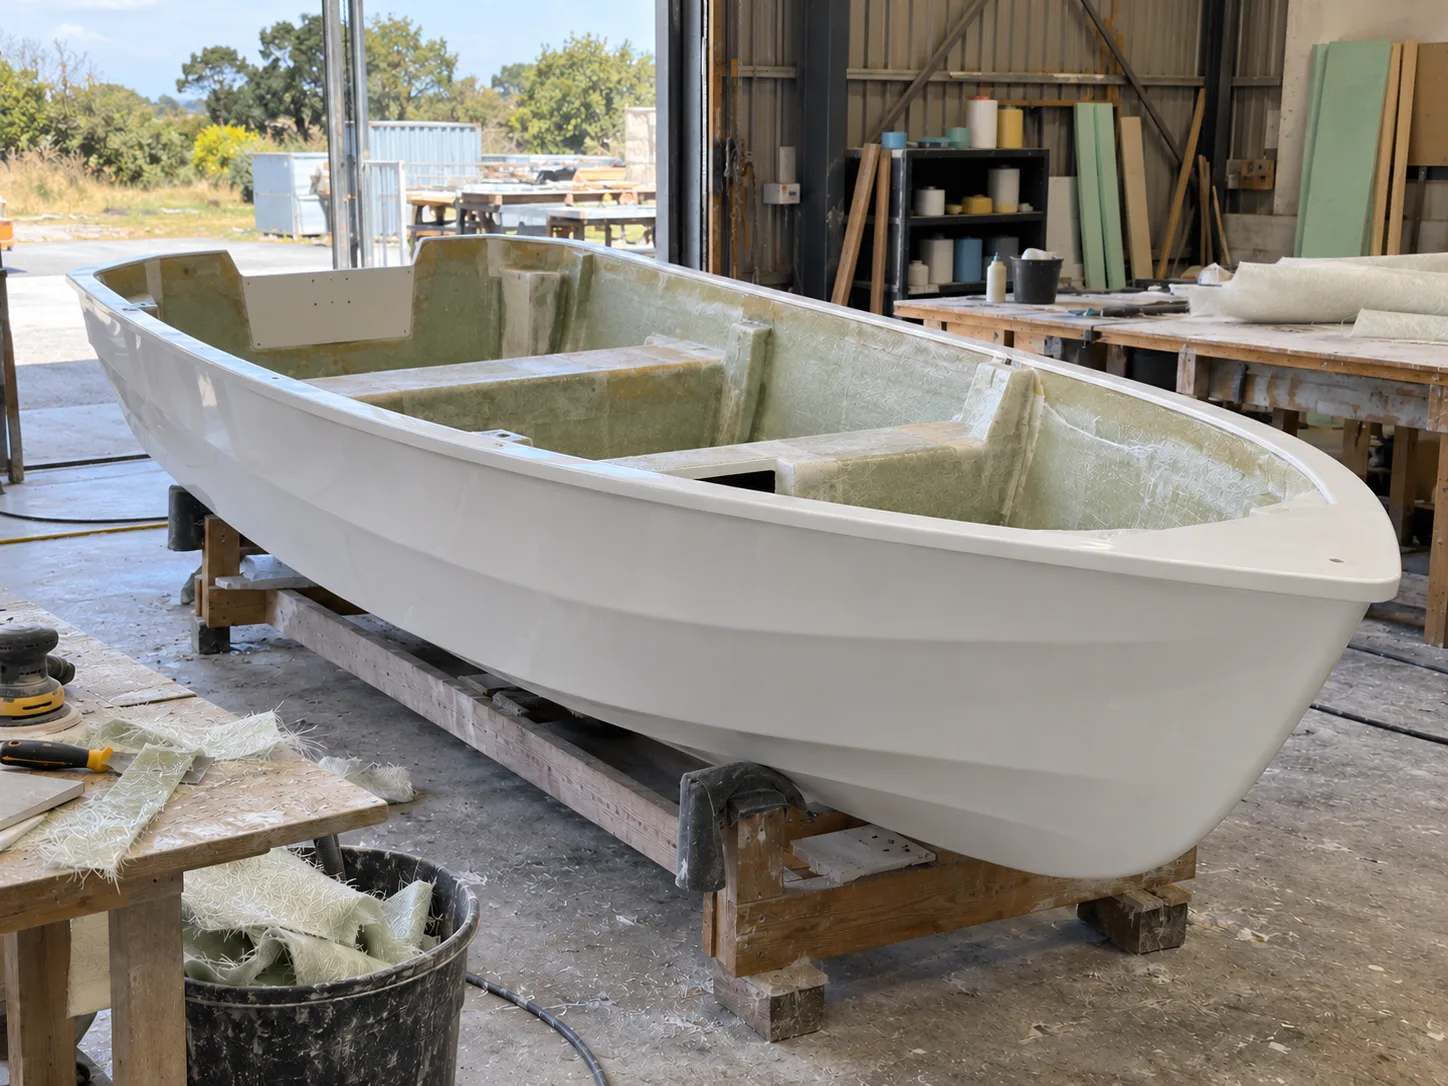
Boat building and marine
Hulls, decks and fittings are usually built in a mould, one layer at a time, then faired and finished. Repairs follow the same order on a smaller scale.
View marine gelcoatsTypical build sequence
Release the mould
A release agent on the prepared mould lets the finished part come away cleanly.
Gelcoat the surface
The gelcoat becomes the outer face of the part, so it goes into the mould first.
Laminate
Resin and glass reinforcement are built up behind the gelcoat. Polyester resins are cured with a catalyst.
Fair and finish
Fairing compounds and flowcoats finish interiors and surfaces outside the mould.
02 / 08
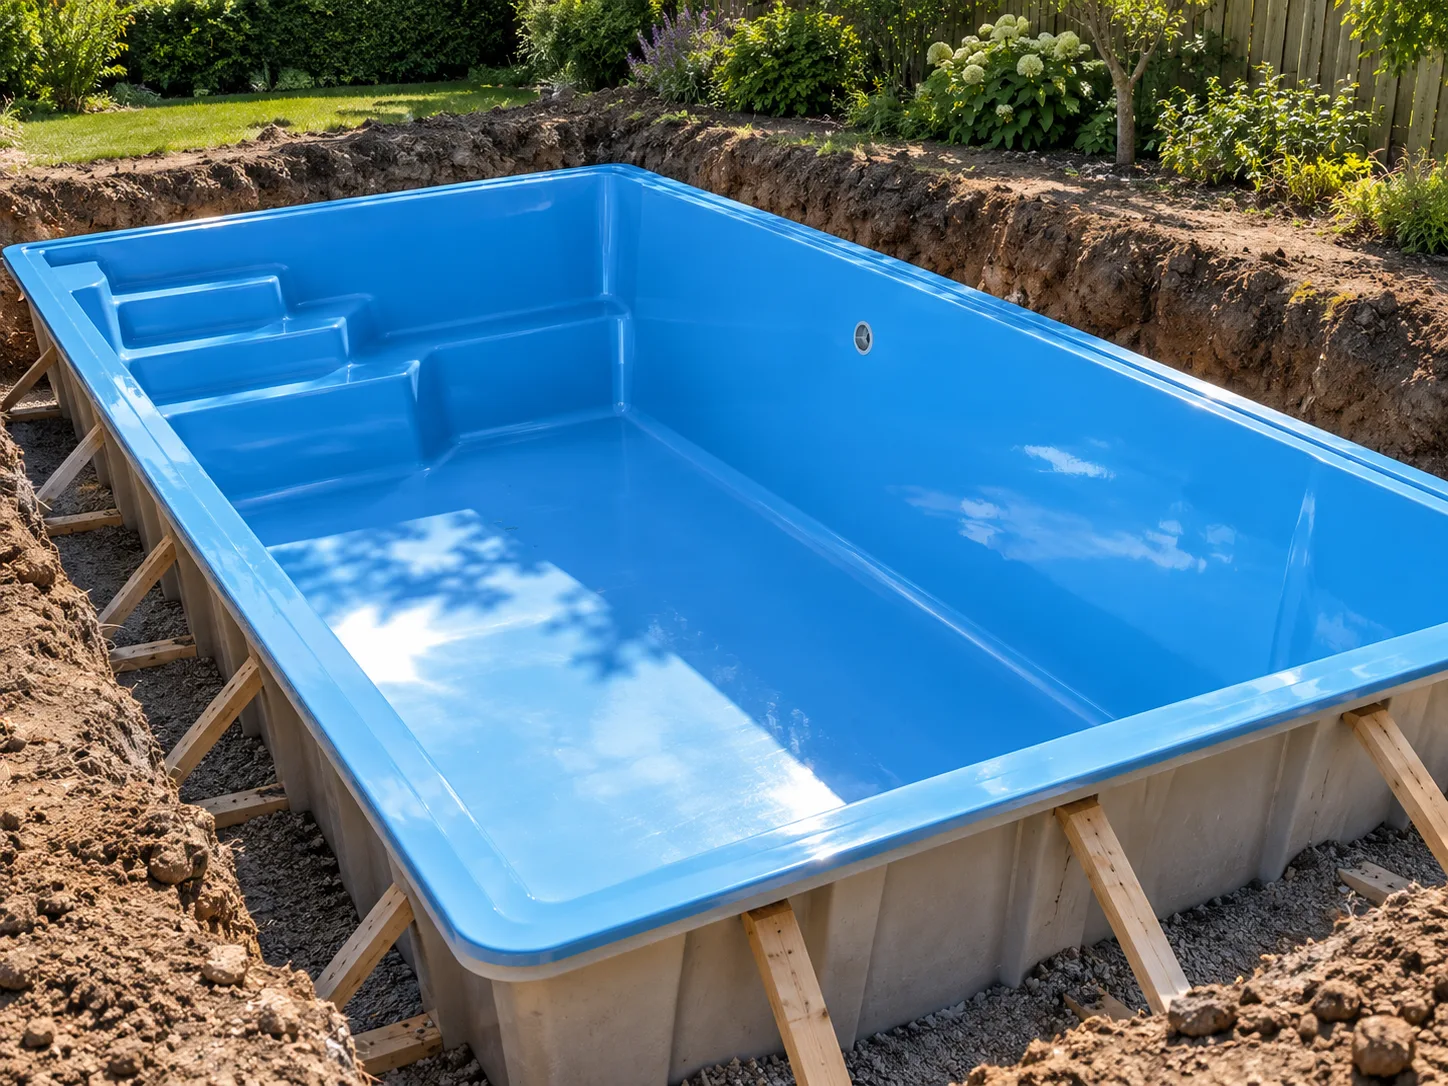
Swimming pools
Pool shells and linings are laminated in layers and finished with a surface coat. The right preparation depends on the condition of the pool.
View pool materialsTypical build sequence
Prepare the surface
Describe the pool and its current surface to the ResinX team before choosing materials.
Laminate the lining
A lining resin with glass reinforcement builds up the lining.
Finish with a flowcoat
Flowcoats are listed for swimming pools and give the finished surface.
03 / 08
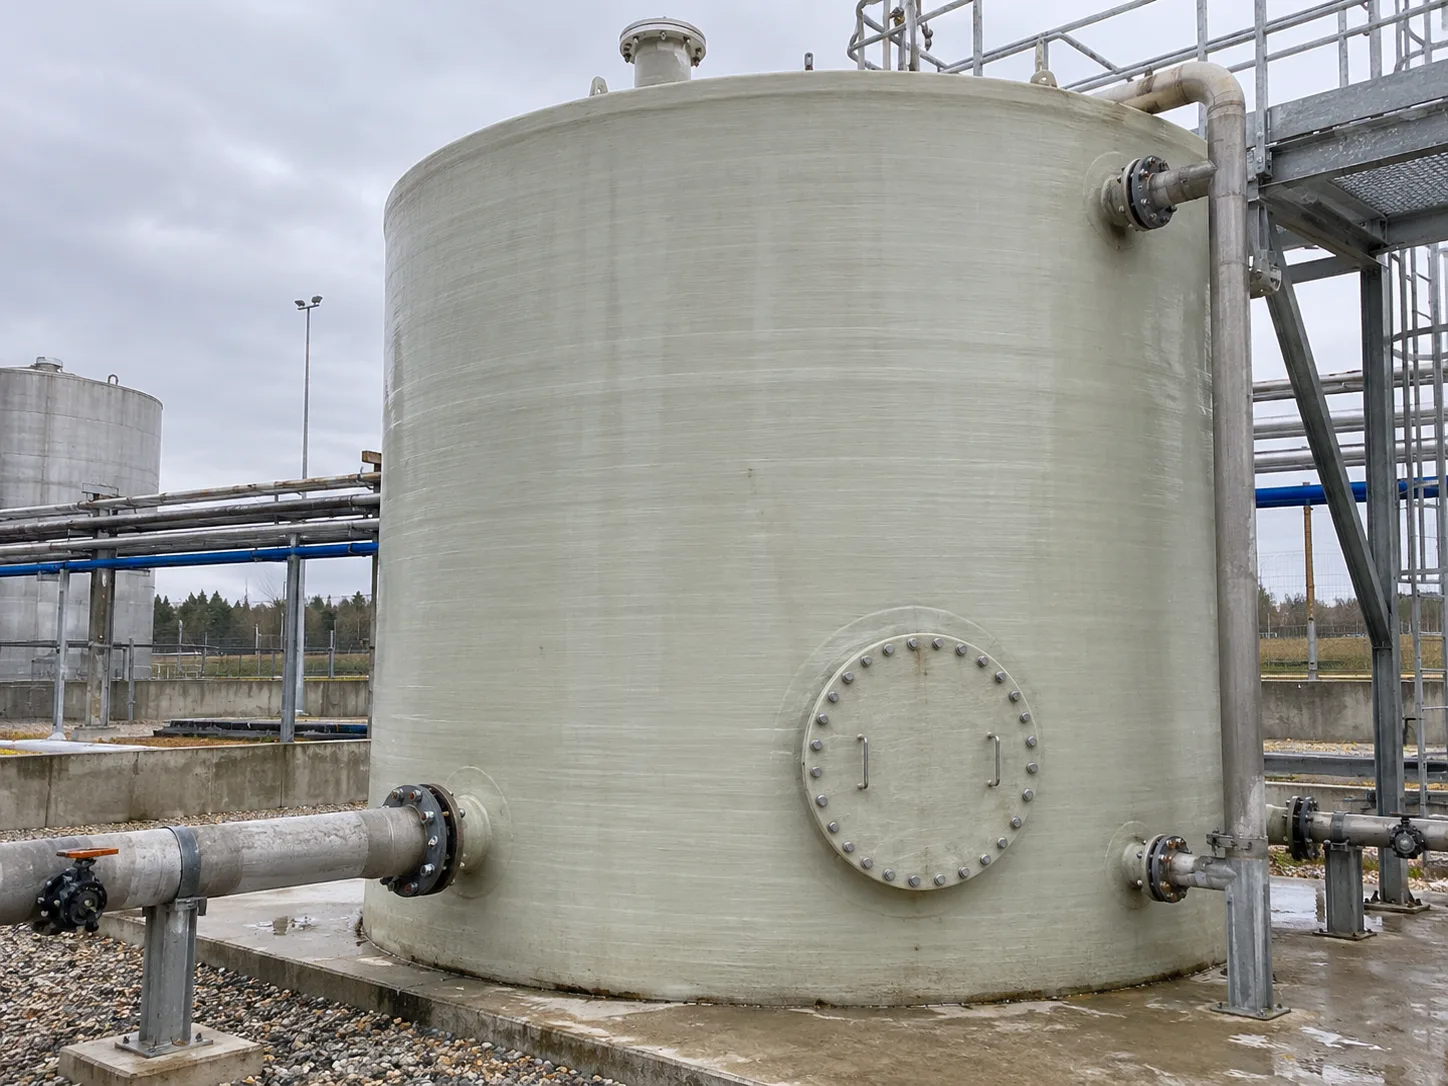
Tanks and linings
Tanks and tank linings combine a resin-rich inner layer with a laminated structure behind it, finished on the outside.
View tank-lining materialsTypical build sequence
Inner gelcoat layer
A gelcoat listed for tank linings forms the inner surface.
Exterior finish
A flowcoat listed for tanks finishes the outside surface.
04 / 08
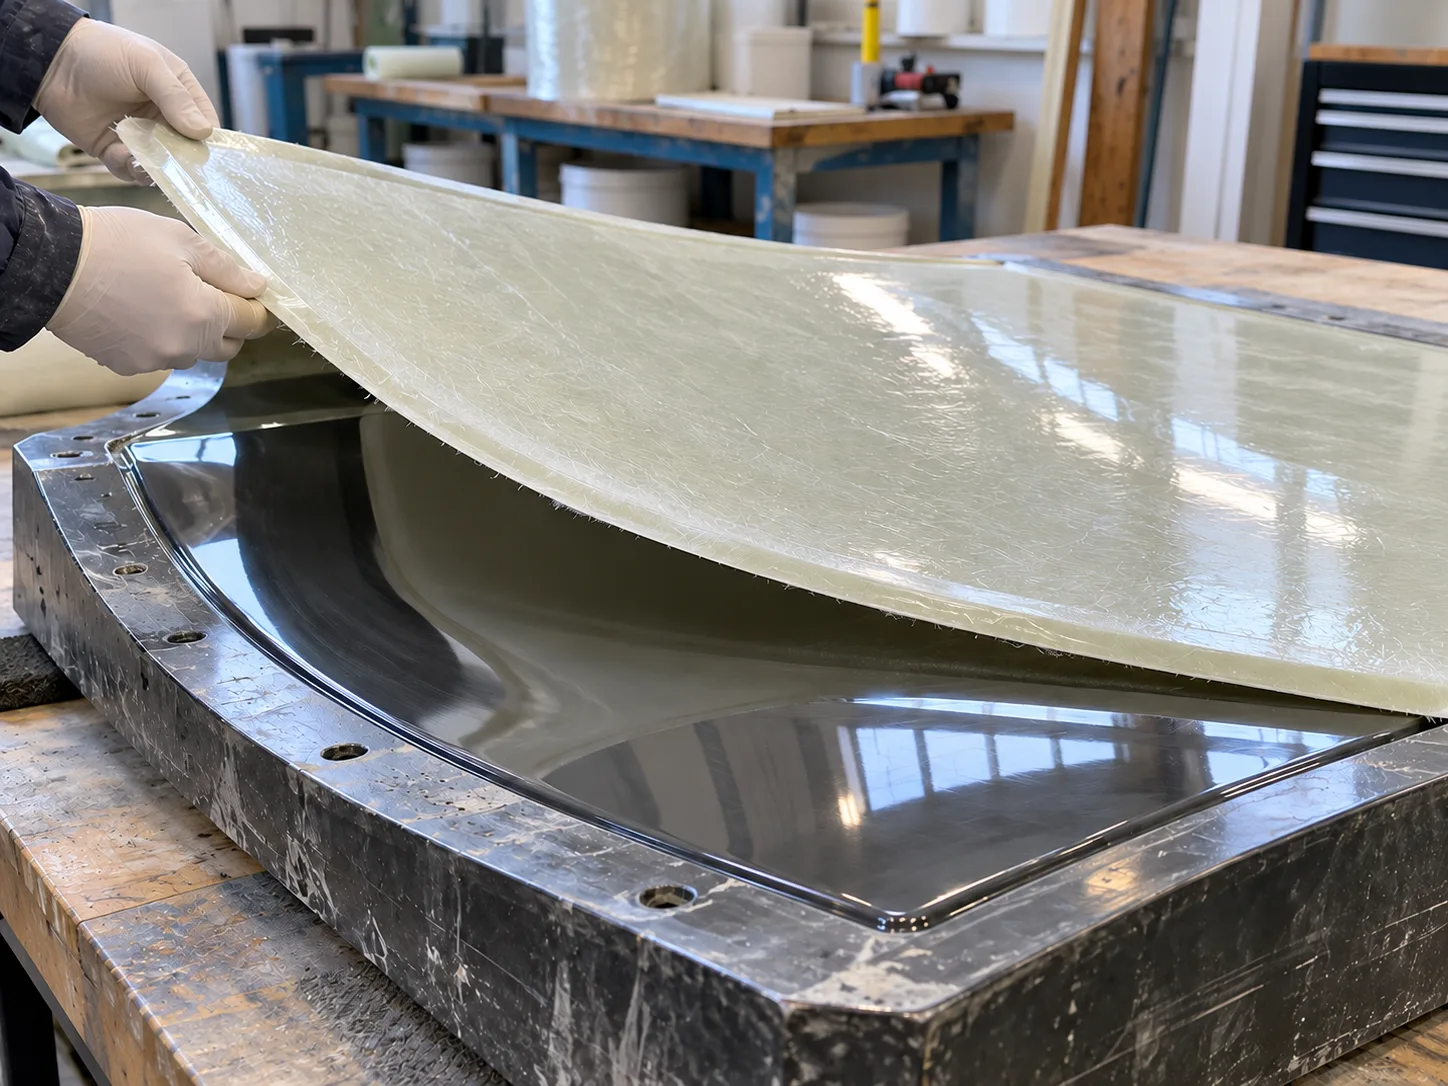
Mould and tooling production
A production mould starts from a pattern or plug. The mould face is gelcoated and backed with laminate, then released for every part it makes.
View moulding gelcoatsTypical build sequence
Tooling or moulding gelcoat
The gelcoat becomes the working face of the mould.
Back with laminate
Laminating resin and glass reinforcement give the mould its strength. Polyester resins are cured with a catalyst.
05 / 08
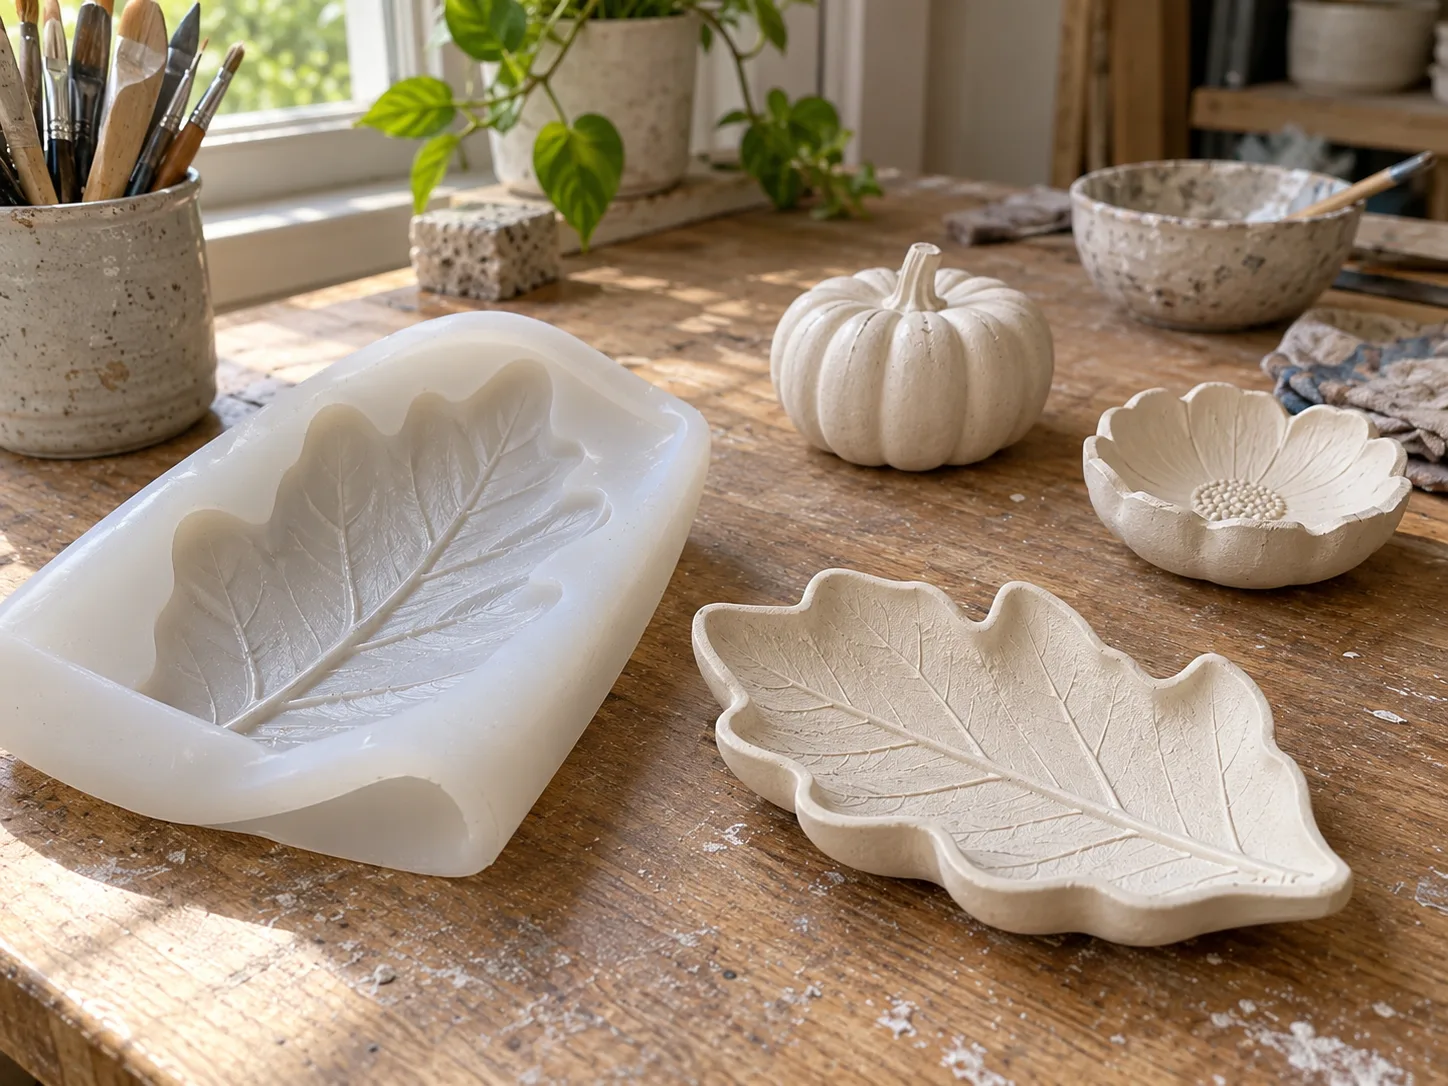
Casting, craft and DIY
Decorative pieces, replicas and craft work are often cast into a mould rather than laminated. The product guides walk through the process.
View casting materialsTypical build sequence
Prepare and release the mould
A release agent helps the cast piece come out of the mould.
Follow the application guide
The Durocem and Polygnite guides cover preparation, casting and finishing topics.
06 / 08
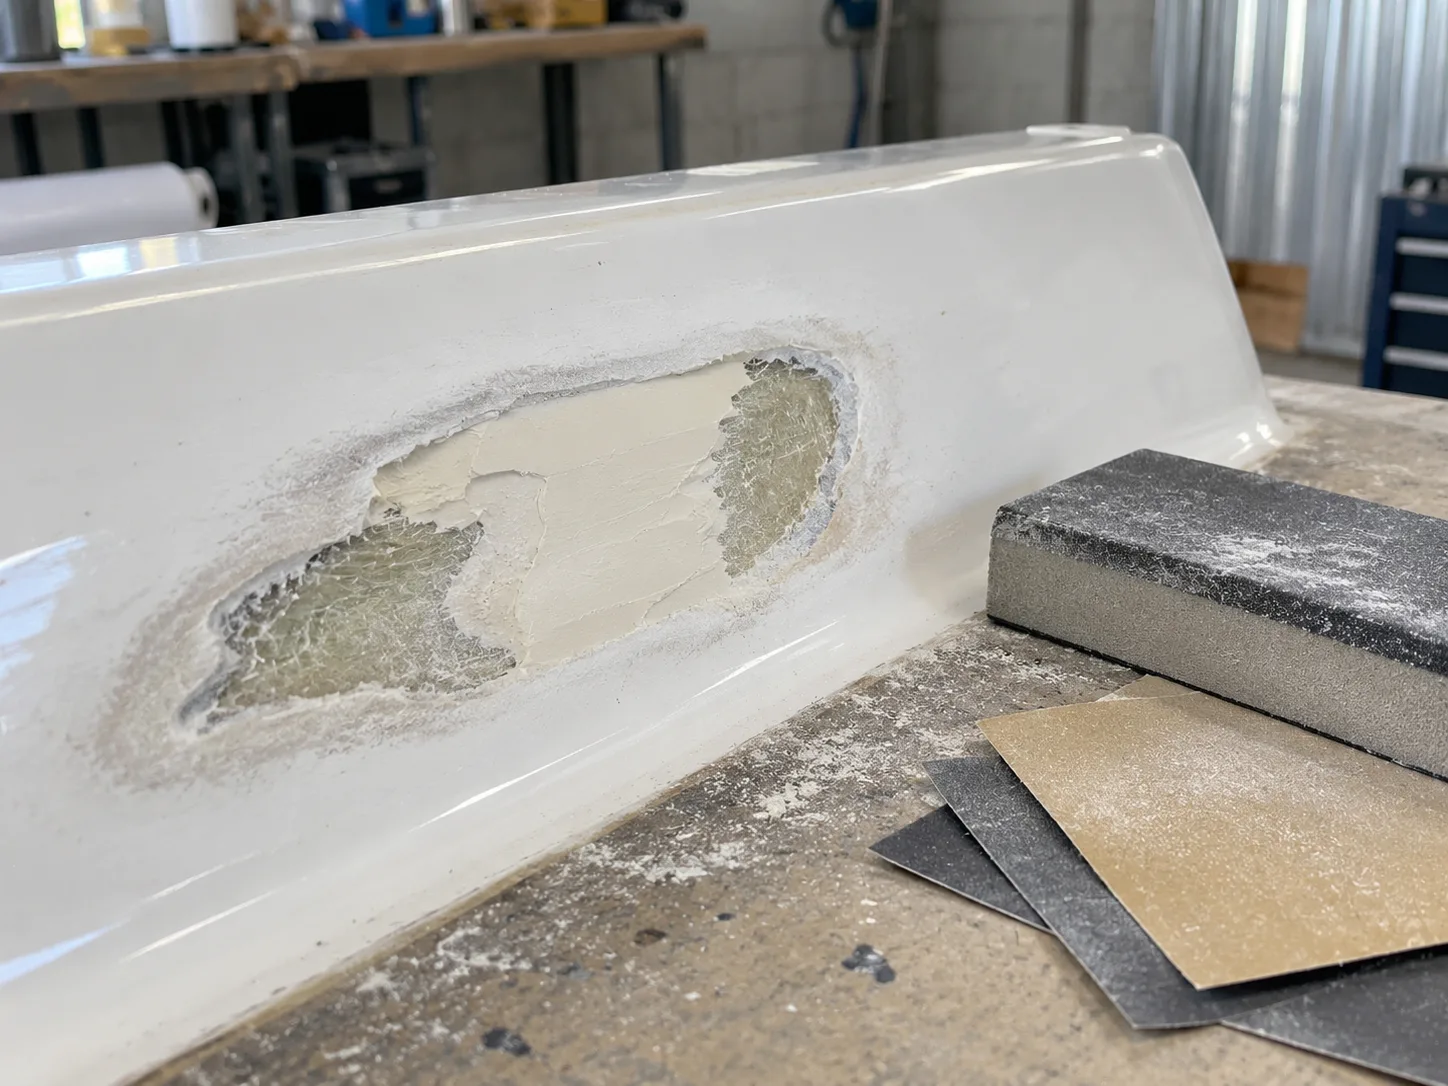
Repairs
Repairs to laminated parts follow the build order in miniature: prepare the damaged area, rebuild the laminate, then fair and finish.
View repair materialsTypical build sequence
Prepare the area
Remove damaged material and prepare the surface as the product data sheet describes.
Rebuild the laminate
A repair resin with glass reinforcement replaces the damaged layers.
07 / 08
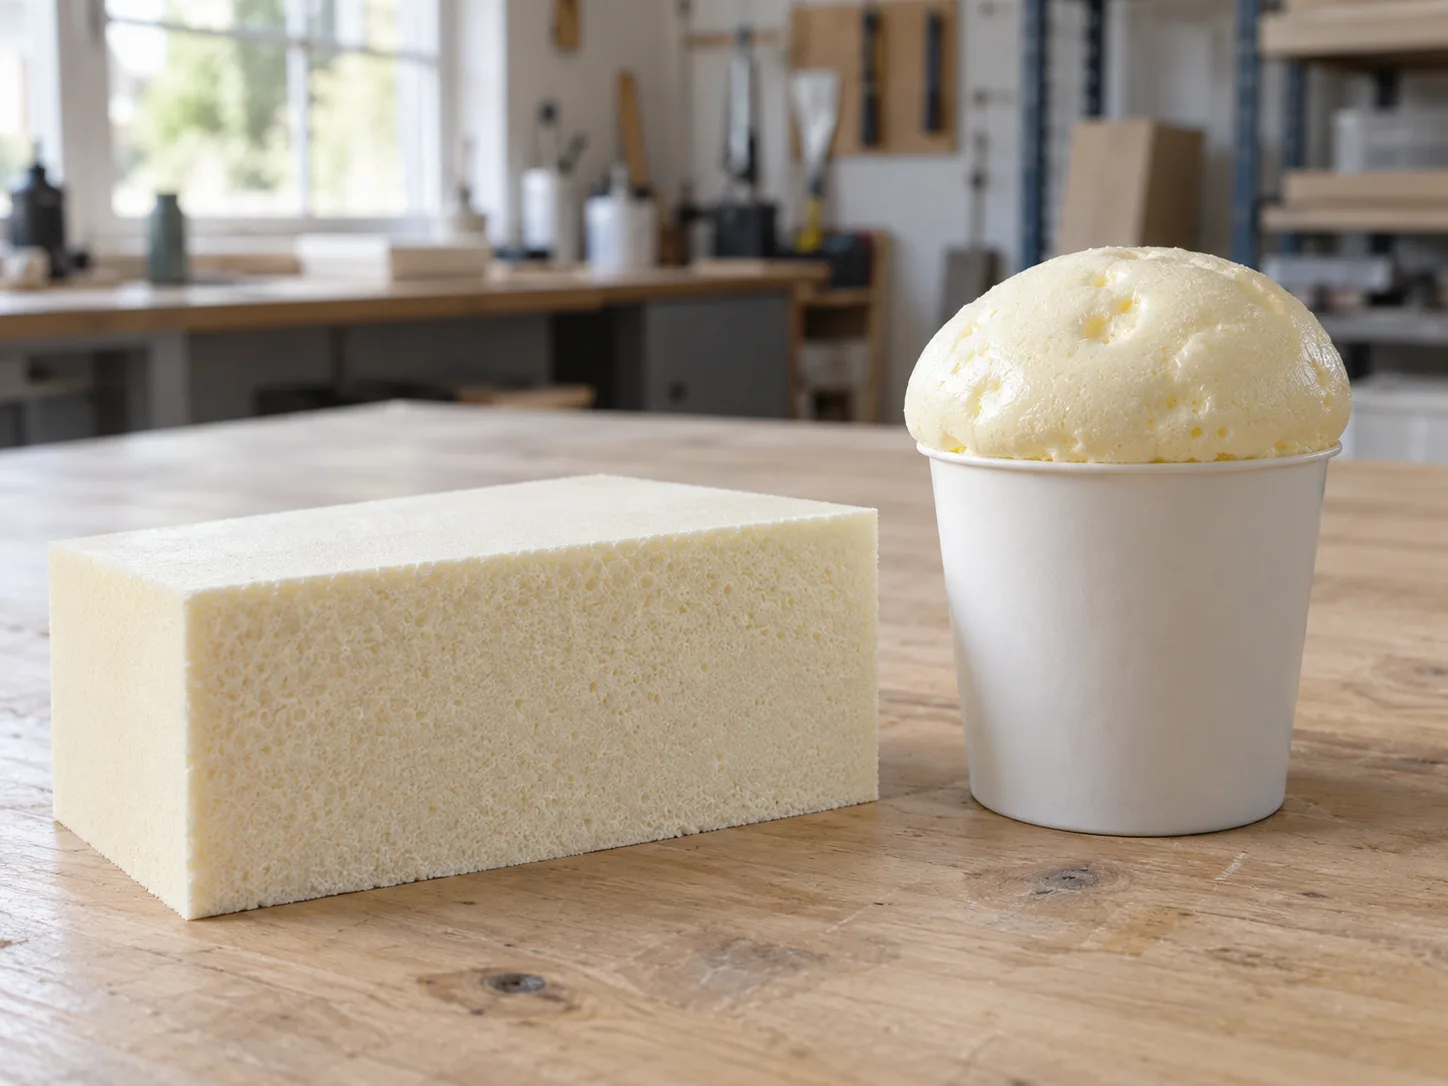
Insulation and void filling
Rigid polyurethane foam systems are supplied as two parts. Once mixed and poured, they foam to fill a cavity or form a block that can be shaped.
View foam systemsTypical build sequence
Choose a foam system
Compare the technical data sheets to choose a system for the job.
Mix part A and part B
Mix the two parts as the data sheet describes.
Pour
Pour into the cavity or mould while the mix is liquid.
Shape
The cured foam can be cut and shaped.
08 / 08
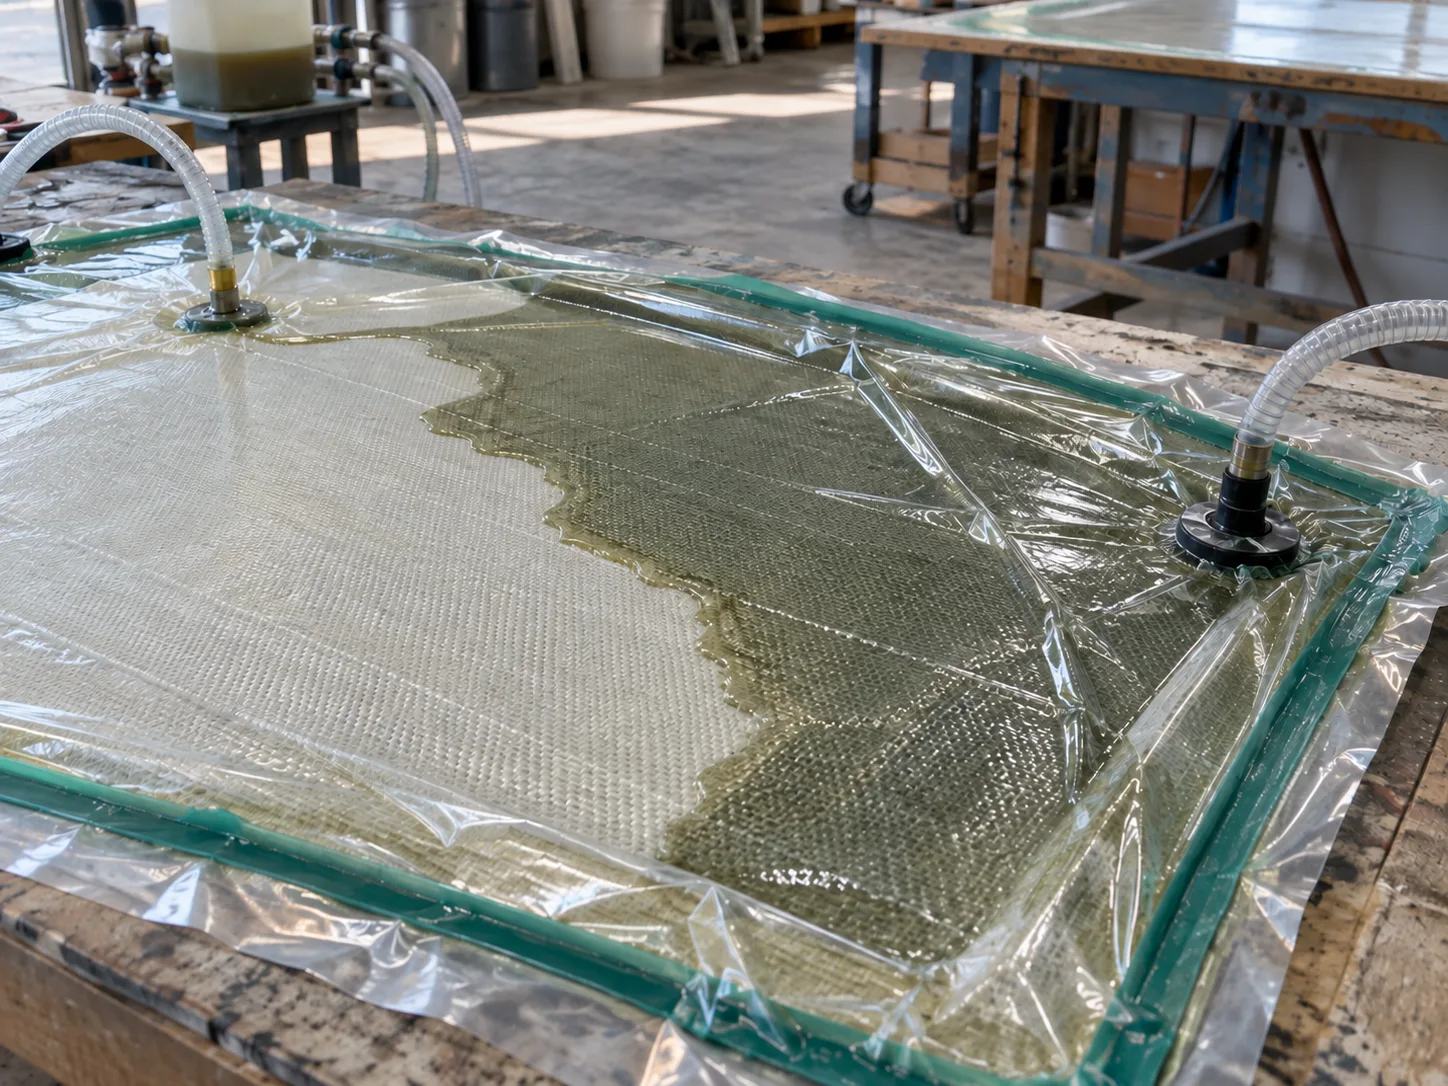
Vacuum infusion
Vacuum infusion draws resin through dry reinforcement under a sealed bag. The consumables are chosen around the laminate, the tooling and the process.
Infusion family guideTypical build sequence
Peel ply and flow mesh
Layers that help resin flow and leave a clean surface.
Bag and connect the vacuum
Bagging film and vacuum pipe seal the laminate and draw the resin.
Plan the infusion with ResinX
Share your laminate, tooling and process to discuss the consumables.
BUILT SOMETHING WITH RESINX?
Share your creations with us.
Send the team photos of your project, or talk it through before you start. For larger packs and bulk amounts, build a quote list.